You’ve got a craving for something sweet, and a pear tart is calling your name.
But don’t just settle for any tart—you’re going to whip up a dessert worth bragging about.
With this guide, you’ll master the perfect pear tart, from selecting the best fruit to crafting a flaky crust.
Let’s get your apron on and your oven preheated—it’s time to make a pear tart that’ll leave your taste buds dancing.
The Basics of a Perfect Pear Tart
You’ve got to understand that the secret to a perfect pear tart lies in choosing ripe, juicy pears and a buttery, flaky crust. Don’t skimp on quality, it’s the foundation of your tart.
Your pears should be at their peak, radiating with juiciness and sweetness. The crust is equally crucial – it should be buttery enough to melt in your mouth, yet sturdy enough to hold the filling. It’s your canvas, so make it count.
The pairing of these two is like a symphony, each playing its part to create harmony. Now, don’t forget to balance the sweetness of your pears with a bit of tartness. A dash of lemon juice works wonders. Remember, it’s all about balance.
With these basics, you’re on your way to a delightful pear tart.
Choosing and Preparing Your Pears
When picking your pears for the tart, you’ll want to ensure they’re ripe and juicy for the best flavor. You’re aiming for a delicate balance between firm and soft. If they’re too hard, they won’t bake properly. Too soft, and they’ll turn mushy. Give them a gentle squeeze; they should yield slightly to pressure.
Peel your pears carefully, preserving as much of the flesh as you can. You don’t want to lose any of that sweet goodness. Core them next, removing the seeds and hard parts. Finally, slice them thinly. This will allow their flavor to permeate the tart, creating a deliciously pear-infused delight.
Mastering the Pear Tart Pastry
In addition to choosing the right pears, it’s crucial that you master the tart pastry, as it forms the foundation upon which your delicious pear tart will be built. Now don’t panic, it’s not as hard as you think.
Start by selecting high-quality flour and butter. You’ll want the butter to be chilled, not frozen nor room temperature. The key to a good pastry is maintaining the coldness of the butter throughout the process.
Your aim is to achieve a mixture that resembles coarse breadcrumbs. Don’t overwork it, as this can make the pastry tough. Once you’ve added water and formed a dough, let it rest. This chill time allows the gluten to relax and results in a more tender crust.
The Process of Assembling Your Tart
How’re you going to layer those juicy pears on your perfectly prepared tart pastry?
First, you’ve gotta slice your ripe pears into thin, even pieces. Don’t rush this step, it’s all about finesse.
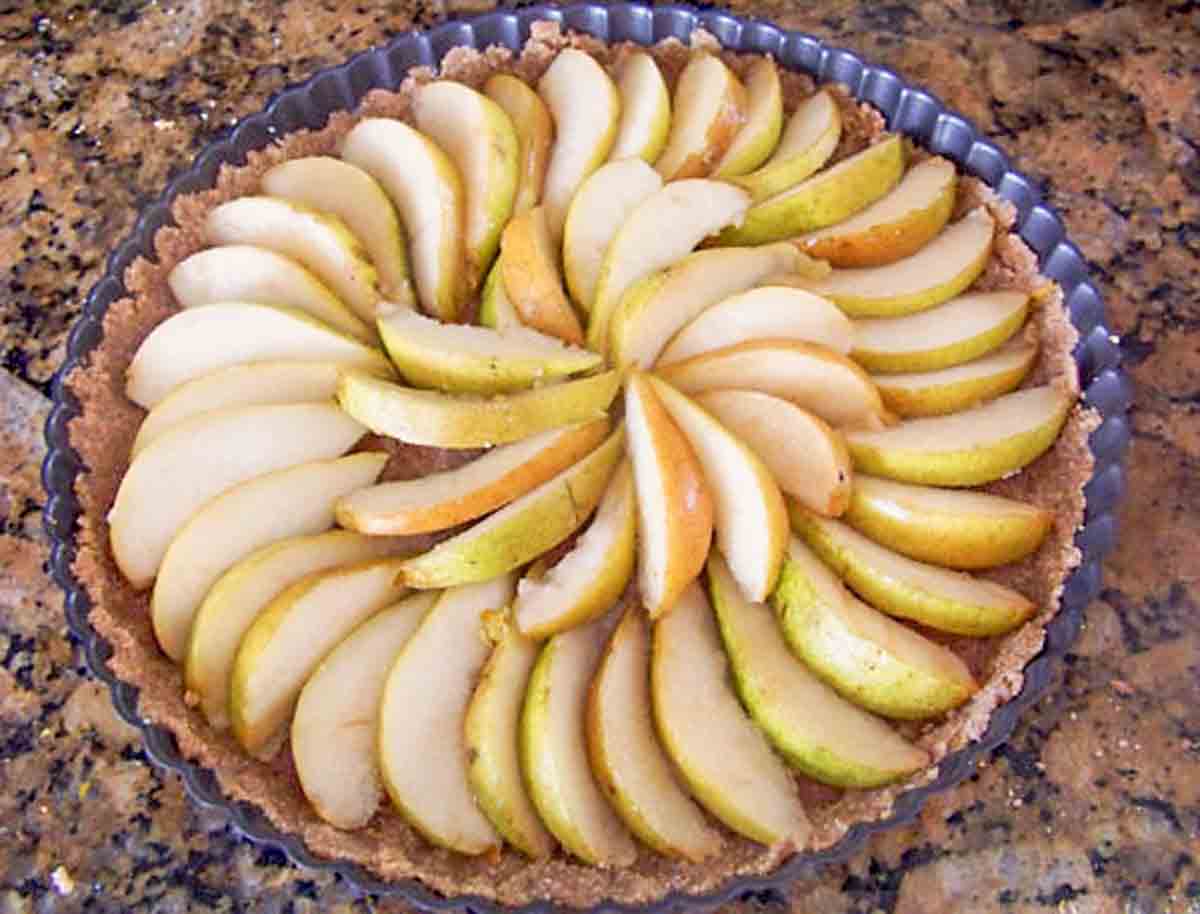
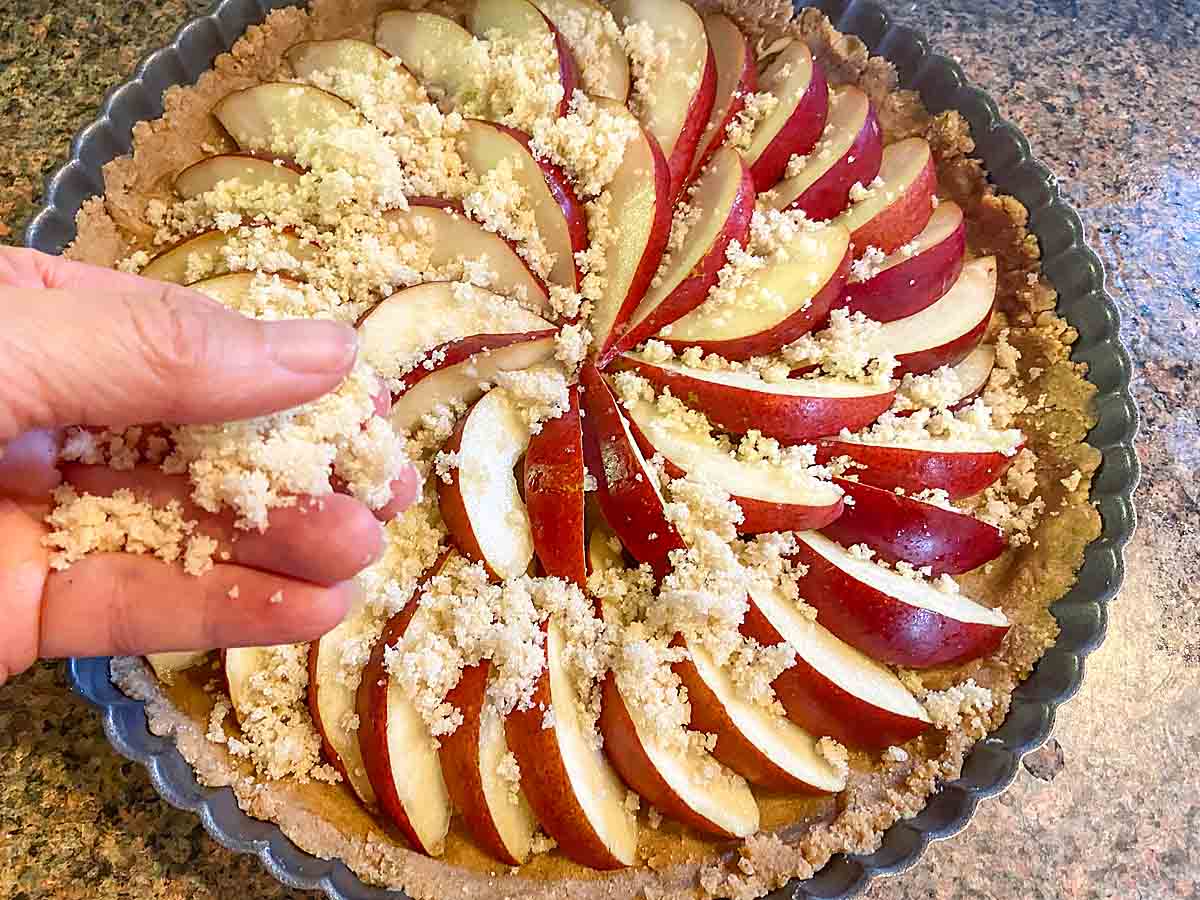
Once you’ve got a pile of pear slices, it’s time to get creative. Start from the outside of your tart and work your way in. Overlap the slices slightly, like petals on a flower. You’ll cover the entire surface of your pastry like this.
Now, sprinkle some sugar on top. It’ll caramelize beautifully in the oven, giving your tart that golden, glossy finish.
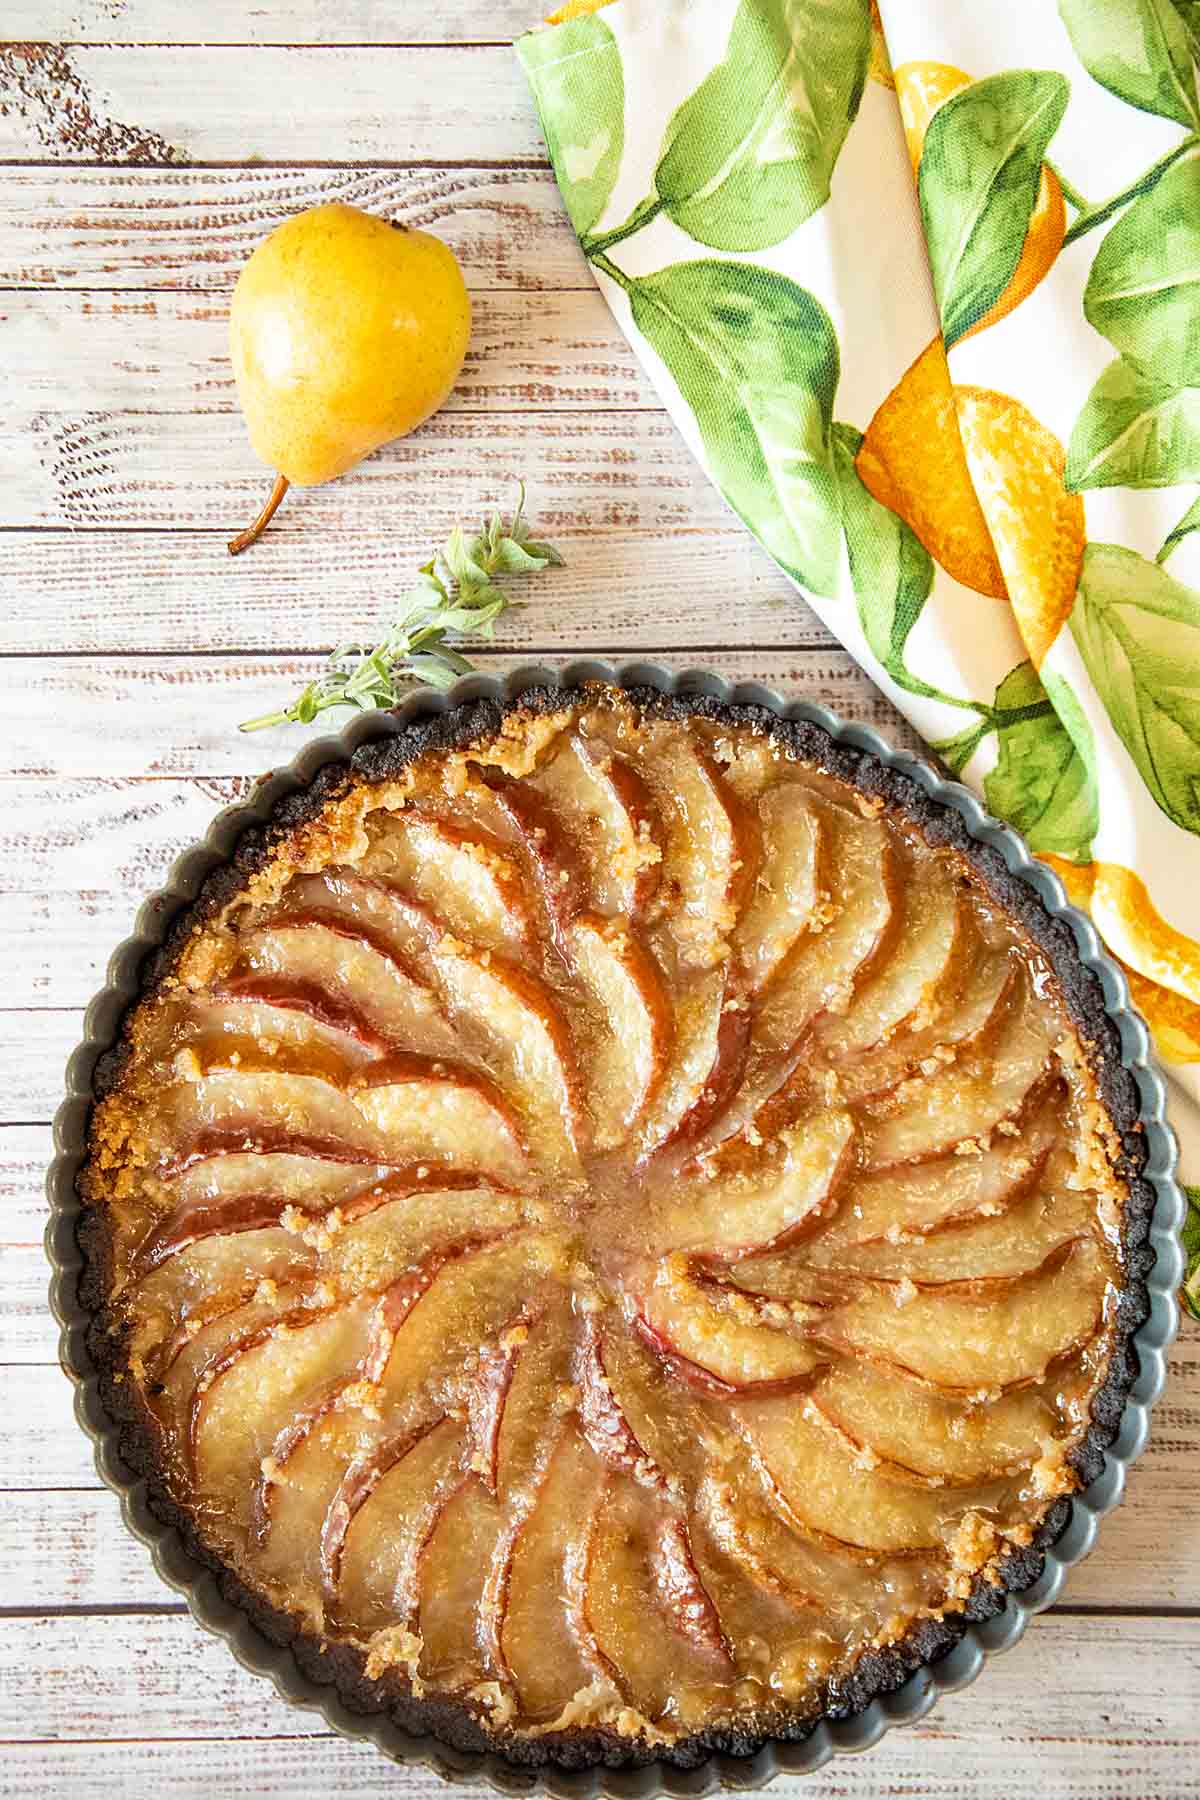
Lastly, you’re going to pop it in the oven. Trust your instincts here, you’ll know it’s done when the crust is golden and the pears are tender.
Enjoy your masterpiece!
Tips for Serving and Enjoying Your Pear Tart
Though you’ve just taken your pear tart out of the oven, don’t slice into it right away; let it cool for a bit, because it’ll be easier to cut and the flavors will have time to meld together.
As you wait, prep your serving dishes. You’re not simply plating a treat, you’re presenting an experience.
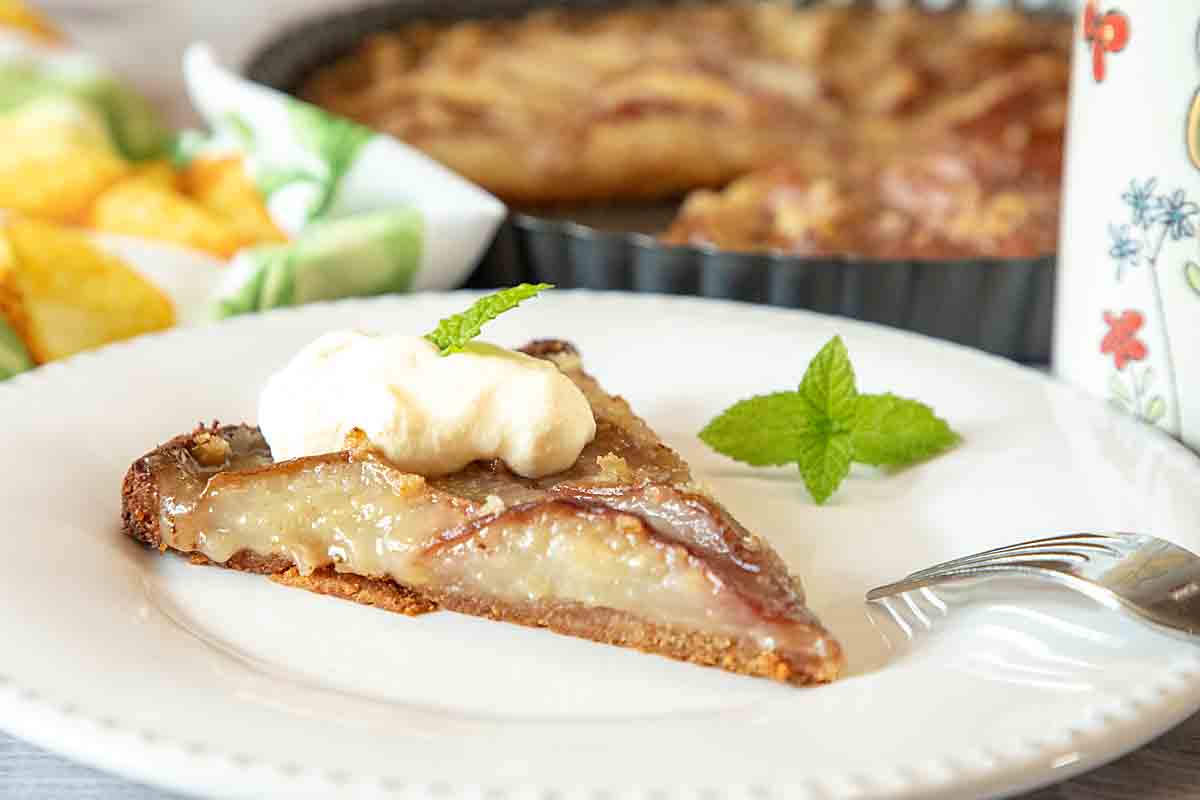
Once the tart’s cool, use a sharp knife to cut clean, even slices. You’ll want to savor this, so don’t rush. Take a moment to appreciate the crust’s golden color, the pear’s soft texture, and the aroma of baked fruit and butter.
Now, take a bite. It’s sweet, it’s warm, it’s everything you’ve worked for. Pair it with a cup of coffee or tea, and you’ve got the perfect ending to any meal.
Enjoy, you’ve earned it!
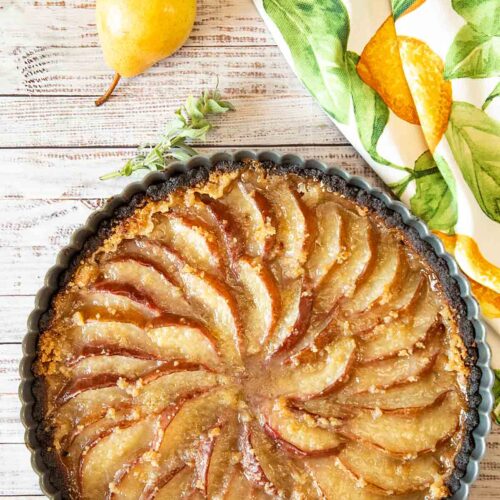
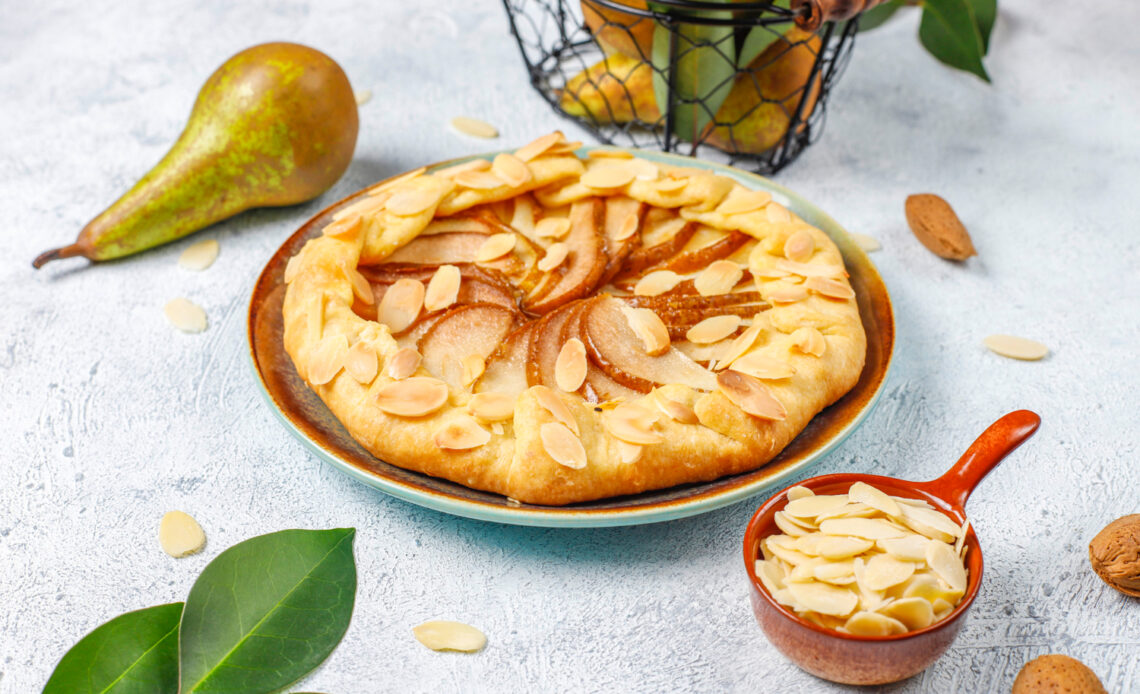
Pear Tart
Ingredients
- Crust
- 1 ½ Cup Flour
- ¼ Cup Granulated Sugar
- ¼ Teaspoon Salt
- ¼ Cup Unsalted Butter Cold
- 1 Egg Yolk
- 2-4 Tablespoons cold water as needed
- Filling
- 3-4 Large Pears moderately ripe, cored and sliced
- 1 Tablespoon Lemon Juice
- 1 1/2 Tablespoon Cornstarch
- 3 Tablespoons Brown Sugar
- 1/8 Teaspoon Ground Cinnamon
- Crumb Topping
- 1 Tablespoon All Purpose Flour
- 1/3 Cup Brown Sugar
- 1 Tablespoons Butter Cold
Instructions
Crust
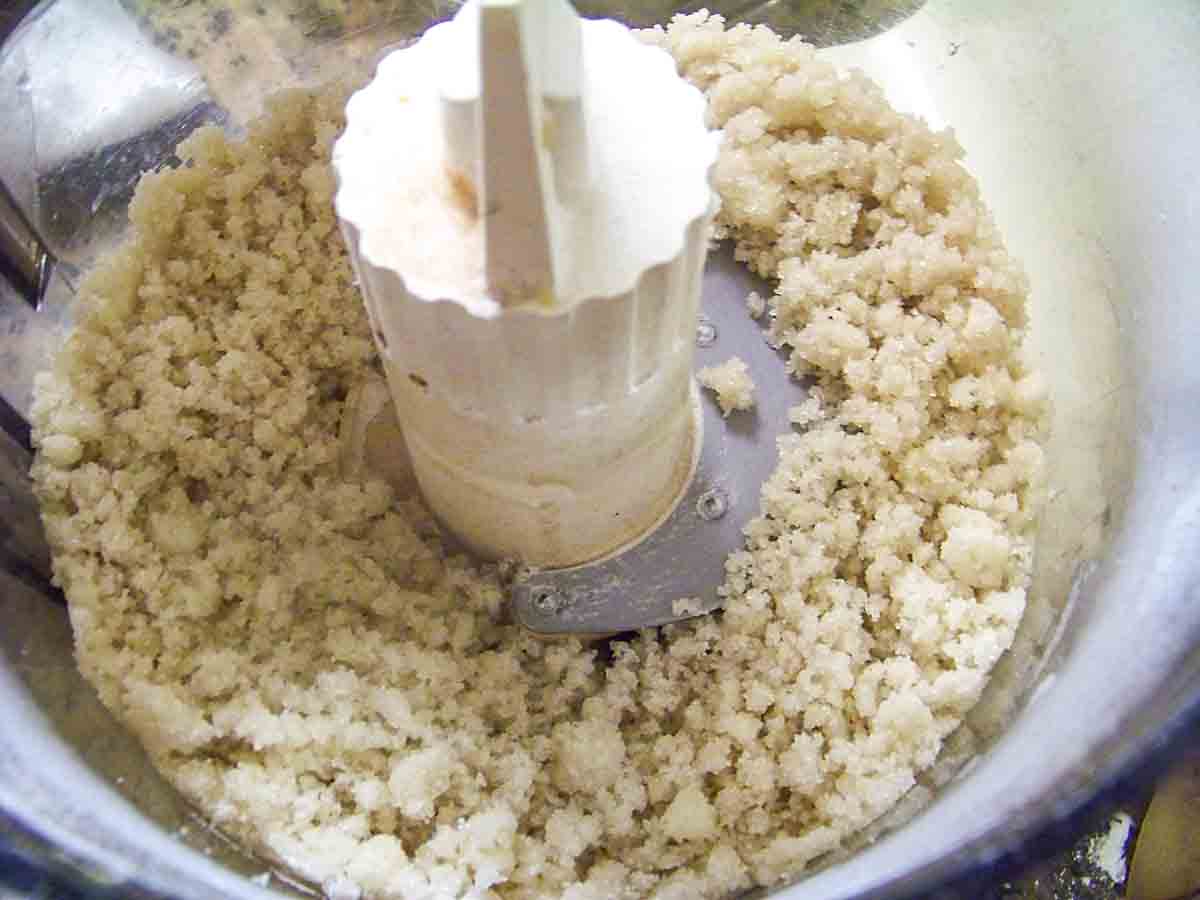
- In a medium bowl, mix the flour, sugar, and salt together. Using a fork or a pastry blender, cut the cold butter into the flour mixture and continue to cut it in until it begins to resemble breadcrumbs.
- Add in the egg yolk and mix as best you can with a fork before adding 2 tbsp of the chilled water. Knead the dough together gently, adding more water if necessary to bring the dough together in a ball.
- Wrap the dough in plastic wrap and allow it to chill in the fridge for 30 minutes and preheat the oven to 375° while it chills.
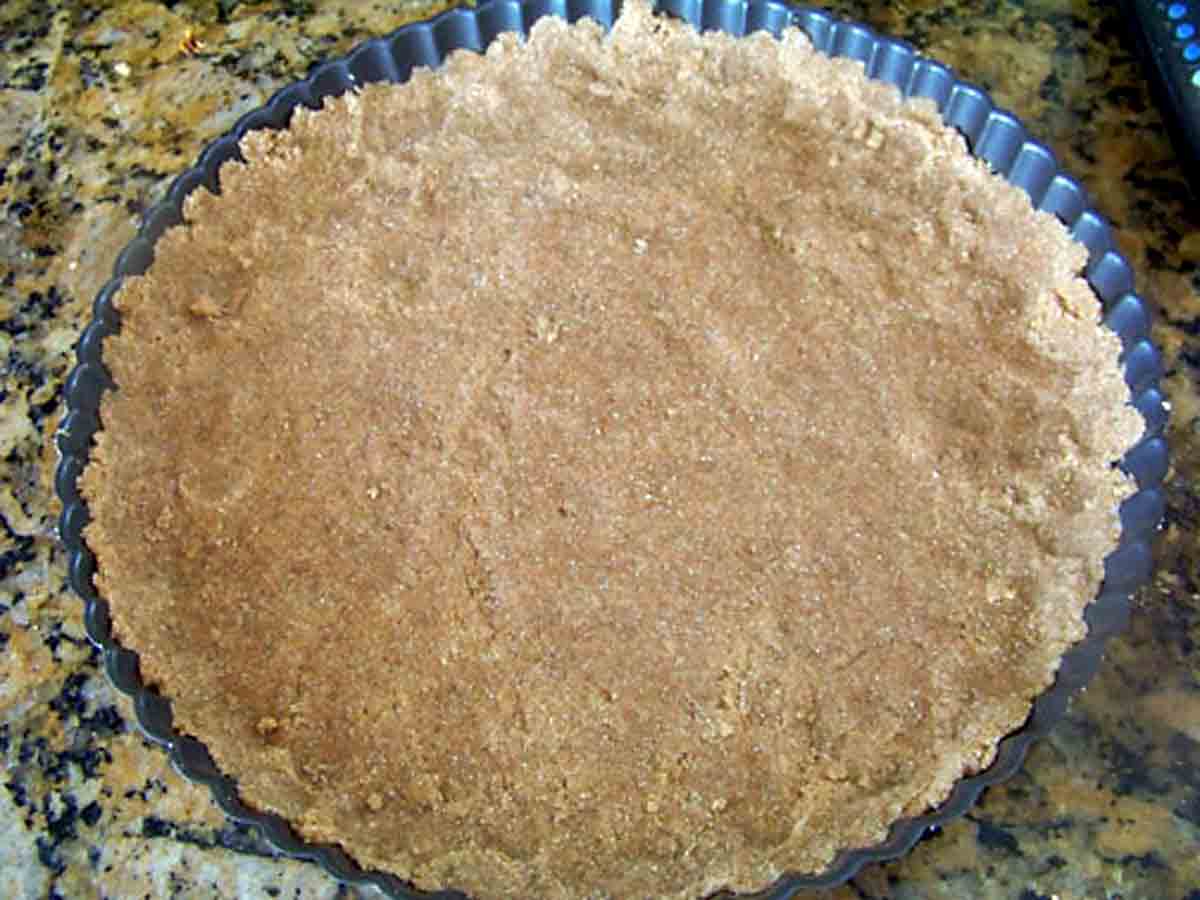
- Once chilled, roll the dough out into a ¼ inch thick circle. If the dough is cracking as you roll, give it a few minutes to warm up slightly before trying again. To transfer it to the tart pan, roll the pastry up on your rolling pin and unroll it over the tart pan.
- Press the bottom and sides into the pan. Trim the excess dough by rolling the rolling pin over the top of the tart pan. Prick the bottom of the pan a few times with a fork. Place in the fridge until the pears and topping are ready.
Filling
- Add the sliced pears, lemon juice, cornstarch, brown sugar, and cinnamon to a large bowl. Toss until combined. Set aside until the crumb topping is ready.
Crumb Topping
- In a medium bowl, add the flour, sugar, and butter. Blend together with either a pastry cutter or your fingers until it is nice and crumbly.
Assembly
- Arrange the pears in the chilled crust and top with the crumb topping.
- Bake for 35-40 minutes, until the edges of the crust are golden brown, and the topping is lightly browned and slightly melted into the pears.
- Let cool for 10-15 minutes before removing from the tart pan and serving.
Notes
- Preheat oven to 425°. Beat butter, sugar and cinnamon until crumbly. Beat in flour and walnuts. Press onto bottom and up side of a 9-in. fluted tart pan with a removable bottom coated with cooking spray.
- For filling, beat cream cheese and 1/4 cup sugar until smooth. Beat in egg and vanilla. Spread into crust. Arrange pears over top. Mix cinnamon and remaining sugar; sprinkle over pears.
- Bake 10 minutes. Reduce oven setting to 350°; bake until filling is set, 15-20 minutes. Cool 1 hour on a wire rack. Refrigerate at least 2 hours before serving.
HELP SECTION
What Are Some Suitable Alternatives to Pears in a Pear Tart Recipe?
You’re asking about swapping out pears in a recipe. Some great alternatives you can try are apples, peaches or nectarines. They’re similar in texture and sweetness, so they’d work well in your dish.
Can I Use Canned Pears Instead of Fresh Ones for My Pear Tart?
Yes, you can substitute canned pears for fresh ones. They’re already peeled and cooked, saving you time. Just drain them well to prevent extra moisture from making your dish soggy. Enjoy your baking!
Is There a Vegan Version of the Pear Tart Recipe?
Absolutely, you can create a vegan version of this recipe. Swap out the regular butter for a vegan substitute, and use an egg replacer for the filling. It’ll taste just as scrumptious, promise!
Can Pear Tarts Be Frozen for Future Use?
Absolutely, you can freeze them for later. Just ensure they’re fully cooled before wrapping tightly in plastic wrap. After that, store in an airtight container or freezer bag. They’ll keep for up to three months.
What Are Some Wine Pairings That Would Complement a Pear Tart?
You’re wondering about wine pairings for a certain dessert. A sweet Riesling or Moscato would be a nice match. If you’d prefer a red, try a light-bodied Pinot Noir. Remember, it’s all about personal preference.
Conclusion
You’ve mastered the art of a perfect pear tart! From picking ripe pears to crafting a delicate pastry, you’ve done it all.
Remember, the key to a delicious tart is patience and precision. And don’t forget to enjoy your creation!
Whether it’s for a special occasion or a simple dessert, your tart is sure to impress.
Now, slice a piece, sit back, and relish the fruits of your labor. You’ve earned it.


