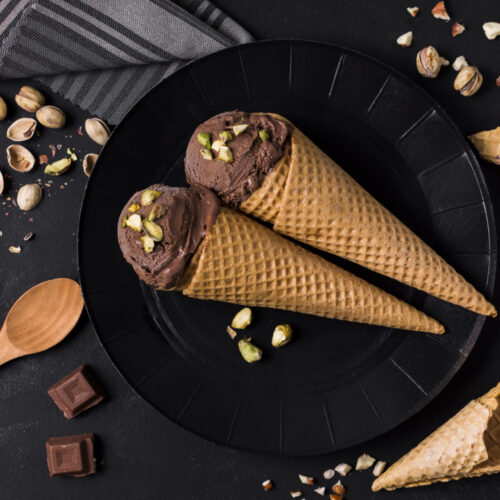
NO-CHURN MEXICAN CHOCOLATE ICE CREAM
Are you a chocolate lover who's looking for a new twist on the classic ice cream flavour? Look no further than no-churn Mexican chocolate ice cream. With its rich and spicy flavour, this homemade treat is sure to impress your taste buds and leave you feeling satisfied.
Ingredients
- 2 cups heavy whipping cream
- 1 cup milk
- 1/4 cup cocoa powder
- 4 ounces bitersweet or semi-sweet chocolate
- 1/2 cup sugar
- 2 teaspoons cinnamon
- Pinch salt
- Pinch cayenne
- Pinch espresso powder or instant coffee
- 6 egg yolks lightly beaten
- 1 teaspoon vanilla extract
- 2 tablespoons brandy optional
Instructions
Heat cocoa powder in 1 cup cream, stir in chocolate:
- Heat one cup of cream in a small saucepan (1 qt). Whisk in cocoa powder. Bring to a simmer. Whisk until cocoa powder is well incorporated.
- Remove pot from heat. Stir in chocolate until it is completely incorporated.
Place into bowl, add remaining cream, chill over ice water:
- Put mixture into a metal bowl and add the remaining cup of cream. Set that bowl over a larger bowl half-filled with ice water to help cool it down.
- Place a mesh sieve over the bowl with the chocolate mixture.
Heat milk, sugar, spices until steamy:
- Put one cup of milk, the sugar, cinnamon, salt, cayenne, espresso powder (or instant coffee) into a saucepan and heat until steamy (not boiling), stirring to incorporate the spices and dissolve the sugar.
Temper eggs with hot mixture, return to pan:
- Place egg yolks in a medium sized bowl. Slowly pour the heated milk and mixture into the egg yolks, whisking constantly so that the egg yolks are tempered by the heated milk, but not cooked by it. Use a rubber spatula to scrape the warmed egg yolks back into the saucepan.
Stir until custard base thickens:
- Stir the milk egg mixture constantly over medium heat with a wooden spoon, scraping the bottom as you stir, until the mixture thickens and coats the spoon so that you can run your finger across the coating and have the coating not run. This can take anywhere from 3 to 10 minutes, depending on how hot your burner is.
As soon as the mixture coats the spoon, remove it from the heat and immediately pour it over the mesh sieve into the bowl of the chocolate cream mixture:
- (The sieve is there to catch any curdled bits.) Stir into the cream mixture. If the custard base doesn't coat the back of the spoon, it's not ready.
Add vanilla and chill:
- Add a teaspoon of vanilla. Let the mixture cool a bit in the ice bath and then chill in the refrigerator until completely chilled, a couple hours or overnight.
Add brandy (optional):
- Right before churning, add 2 Tbsp of brandy to the mix. This is an optional step, but it will help keep the ice cream from getting too icy if it is stored beyond a day. If you are planning on eating the ice cream the same day you make it, you can skip this step.
Process in ice cream maker:
- Churn the mixture in your ice cream maker according to the manufacturer's instructions.
Freeze:
- Store ice cream in an airtight container in your freezer for several hours before eating. The ice cream will be quite soft coming out of the ice cream maker, but will continue harden in your freezer.
- If you store it for more than a day, you may need to let it sit for a few minutes to soften before attempting to scoop it.