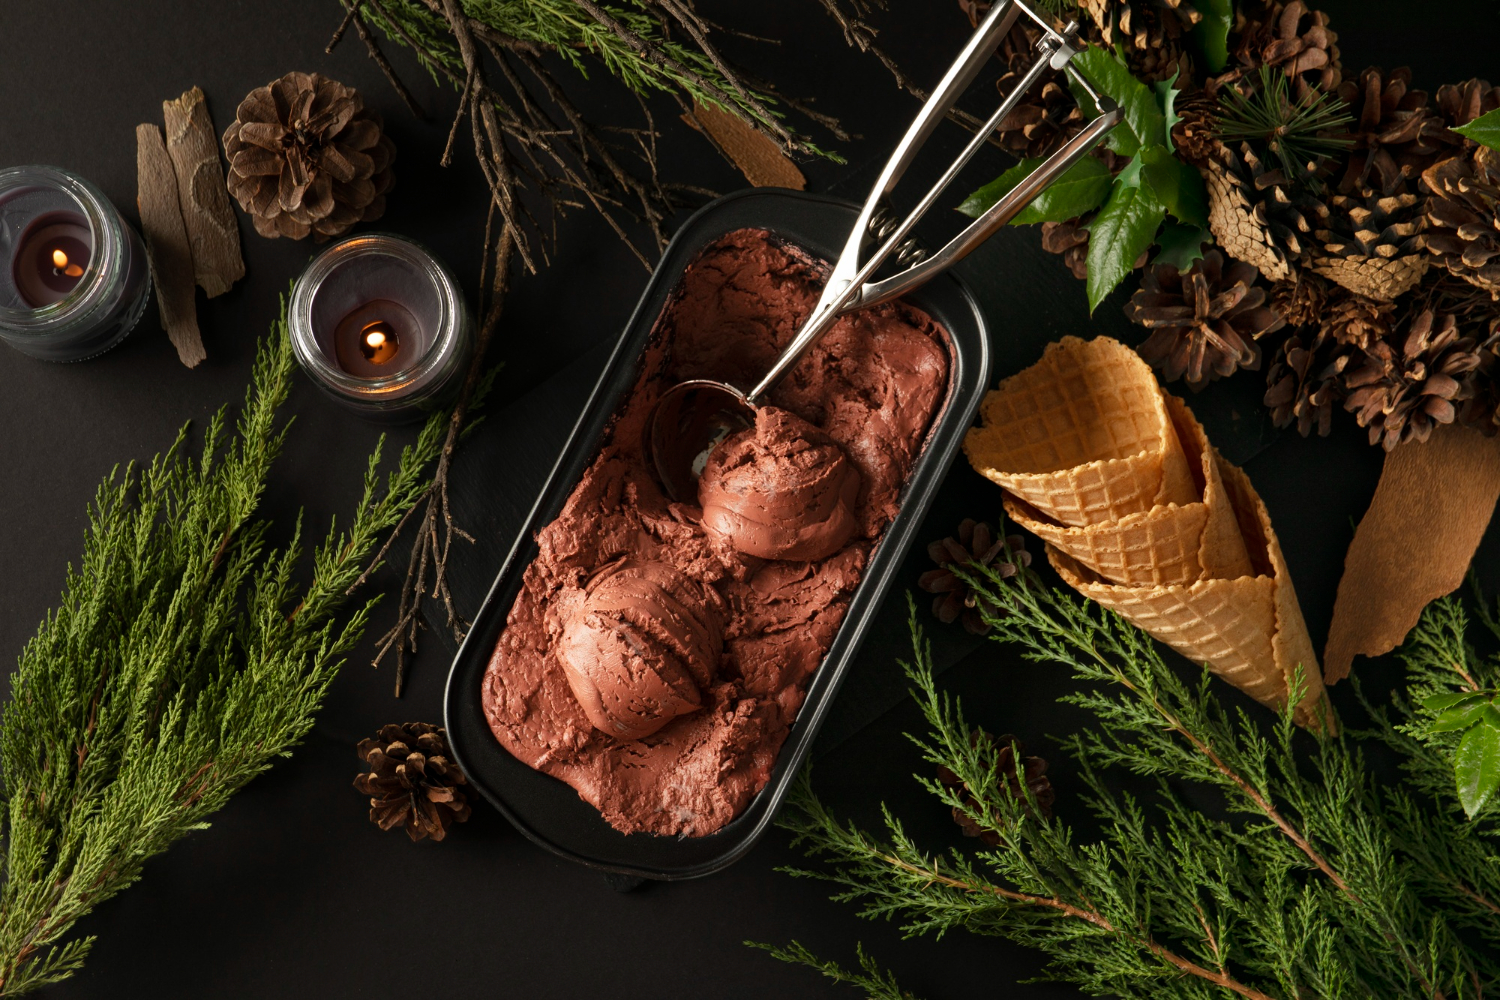
Are you a chocolate lover who’s looking for a new twist on the classic ice cream flavour? Look no further than no-churn Mexican chocolate ice cream.
With its rich and spicy flavour, this homemade treat is sure to impress your taste buds and leave you feeling satisfied.

The best part? You don’t need an ice cream maker to make this delicious dessert. With just a few ingredients and some simple steps, you can whip up a batch of creamy, chocolatey goodness in no time.
So why settle for store-bought ice cream when you can impress your friends and family with your homemade creations? Follow these steps to make your own no-churn Mexican chocolate ice cream and take your dessert game to the next level.
Gather Your Ingredients and Supplies
Get ready to whip up this delicious no-churn Mexican chocolate ice cream by gathering all the necessary ingredients and supplies. While an ice cream maker is typically used to make ice cream, you can use alternative methods such as a blender or food processor.
Make sure to have heavy cream, sweetened condensed milk, vanilla extract, unsweetened cocoa powder, ground cinnamon, ground nutmeg, and a pinch of salt on hand.
Once you have all your ingredients, it’s important to have a container to store your ice cream in. A loaf pan or airtight container will work best. Additionally, it’s important to store your ice cream in the coldest part of your freezer to avoid any melting or freezer burn.
Now that you have all your supplies and storage ready, it’s time to move onto the next step in making your delicious no-churn Mexican chocolate ice cream.
Preparing the Mexican Chocolate Mixture
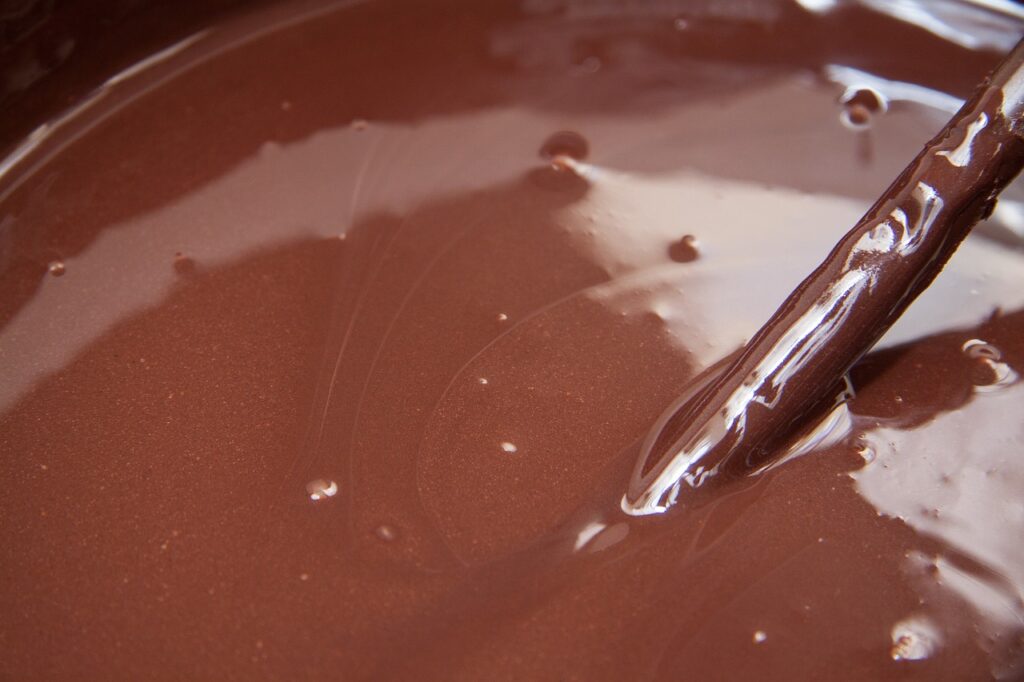
Now it’s time to start prepping that rich and spicy mixture that’ll give your taste buds a serious kick. Begin by melting your Mexican chocolate in a heat-safe bowl over a pot of simmering water. This’ll ensure that the chocolate doesn’t burn or seize up as you mix it with the other ingredients. Once melted, remove the bowl from the pot and let it cool slightly.
Next, it’s time to mix in your other ingredients. Add a can of sweetened condensed milk, a cup of heavy cream, a teaspoon of vanilla extract, a pinch of salt, and a teaspoon of ground cinnamon to the melted Mexican chocolate. Use a whisk to thoroughly mix all the ingredients together, making sure that everything is evenly incorporated. You can also use an electric mixer or blender for a smoother consistency.
Once everything is mixed together, set the Mexican chocolate mixture aside and move on to the next step.
Mixing the Condensed Milk and Whipping Cream
Well, it’s time to get fancy and mix up some condensed milk and whipping cream to create a smooth and creamy base for your soon-to-be-delicious dessert.
First, make sure your whipping cream is cold and pour it into a large mixing bowl. Using an electric mixer, beat the cream on medium-high speed until it forms stiff peaks. This whipping technique is crucial to achieving the perfect texture for your ice cream.
Next, pour in the condensed milk and mix it with the whipped cream until it’s fully incorporated. This mixture will serve as the base for your Mexican chocolate ice cream. If you’re feeling adventurous, you can experiment with different flavour variations by adding in ingredients like vanilla extract, cinnamon, or even a splash of tequila.
Once you’ve mixed everything together, you’re ready to move on to the next step and add in the Mexican chocolate mixture.
Combining the Two Mixtures
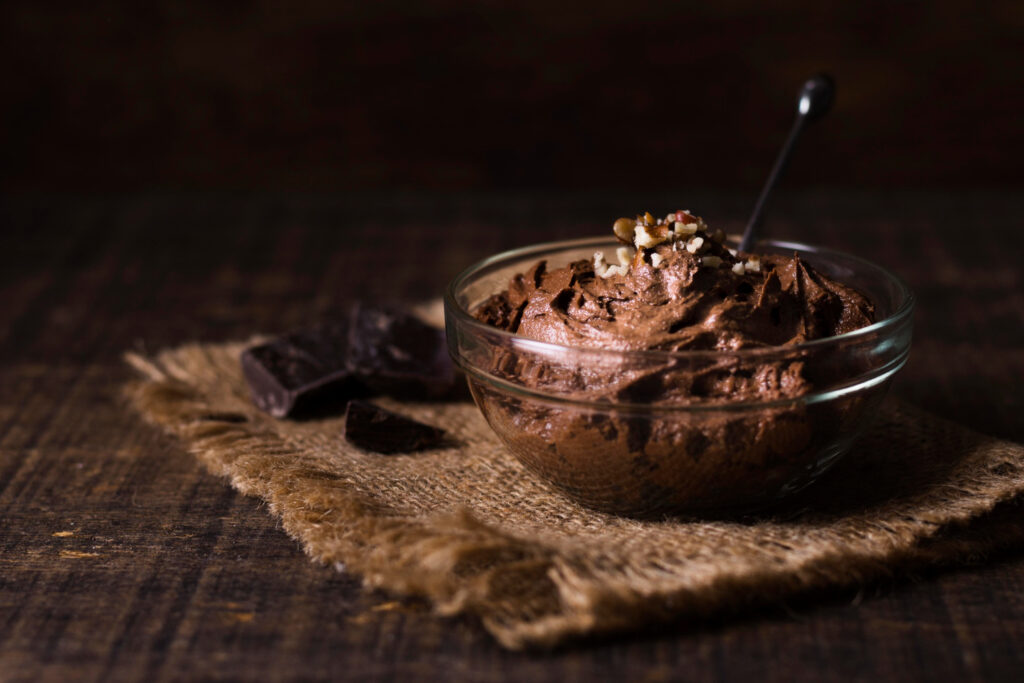
You can now combine the smooth and creamy whipped mixture with the rich and flavorful chocolate mixture to create a decadent dessert that will have your taste buds dancing with delight. When combining the two mixtures, be sure to use a gentle folding motion to avoid deflating the whipped cream. Take your time and make sure the mixture is fully combined, but be careful not to overmix it, as this can result in a loss of texture consistency.
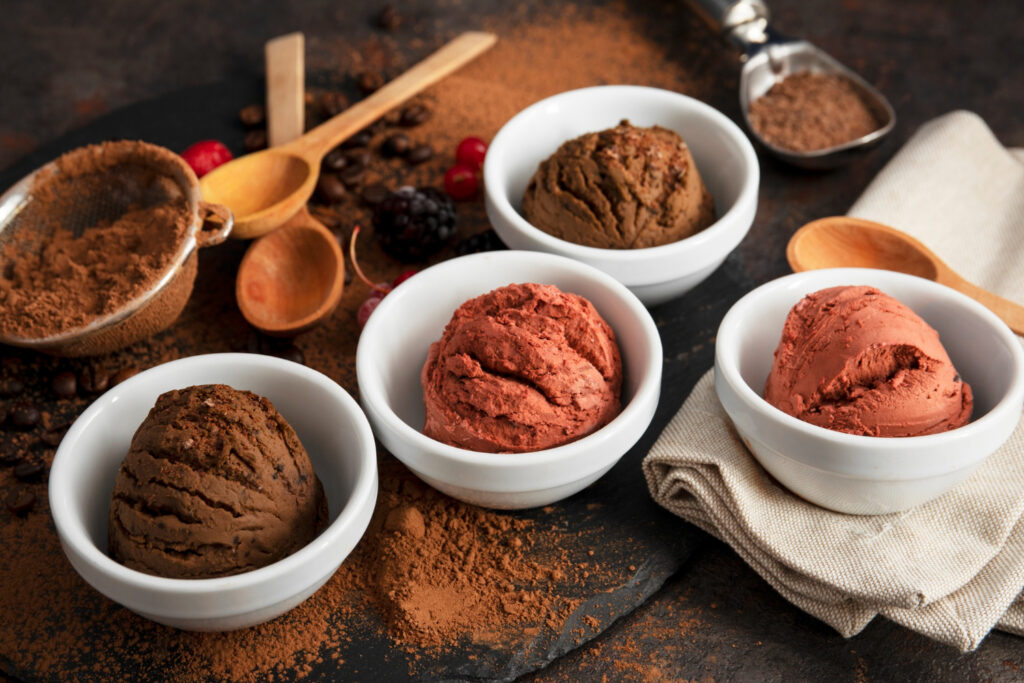
If you’re looking to switch up the flavours, feel free to experiment with ingredient substitutions. Try using different types of chocolate, or adding in some cinnamon or chili powder for a spicy kick. You can even fold in some chopped nuts or swirl in some caramel sauce for added decadence.
No matter what variation you choose, this no-churn Mexican chocolate ice cream is sure to be a crowd-pleaser.
Freezing the Ice Cream
To achieve optimal texture and flavour, it’s essential to freeze your no-churn Mexican chocolate ice cream until it reaches the desired consistency.
While the recipe calls for freezing the mixture for at least 6 hours, there are alternative freezing methods to try.
You can use an ice cream maker to speed up the process, or you can pour the mixture into popsicle molds for a frozen treat on a stick.
Just remember to cover the molds with foil or plastic wrap to prevent freezer burn.
If you encounter any common freezing issues, don’t worry – there are solutions!
If your ice cream is too hard to scoop, let it sit at room temperature for a few minutes until it softens.
Or, you can place the container in a warm water bath for a few seconds before scooping.
If your ice cream is too icy or has ice crystals, try stirring the mixture every hour during the freezing process to break up any clumps.
With a little patience and experimentation, you’ll be able to enjoy a perfectly frozen scoop of no-churn Mexican chocolate ice cream.
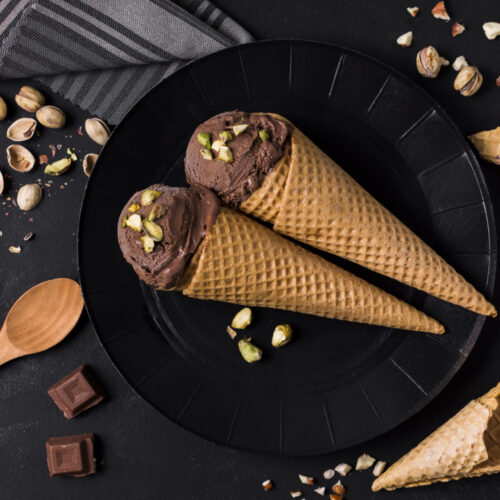
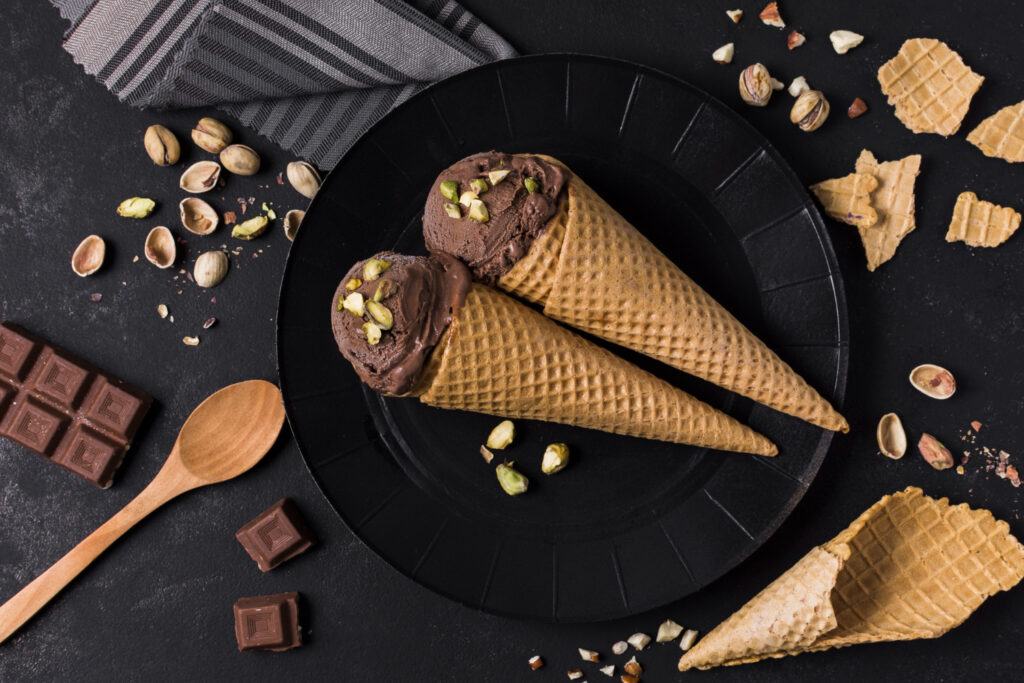
Serving Suggestions and Toppings
In this section, we’ll explore some delicious ways to serve and enjoy this creamy dessert. What toppings will take your indulgence to the next level?
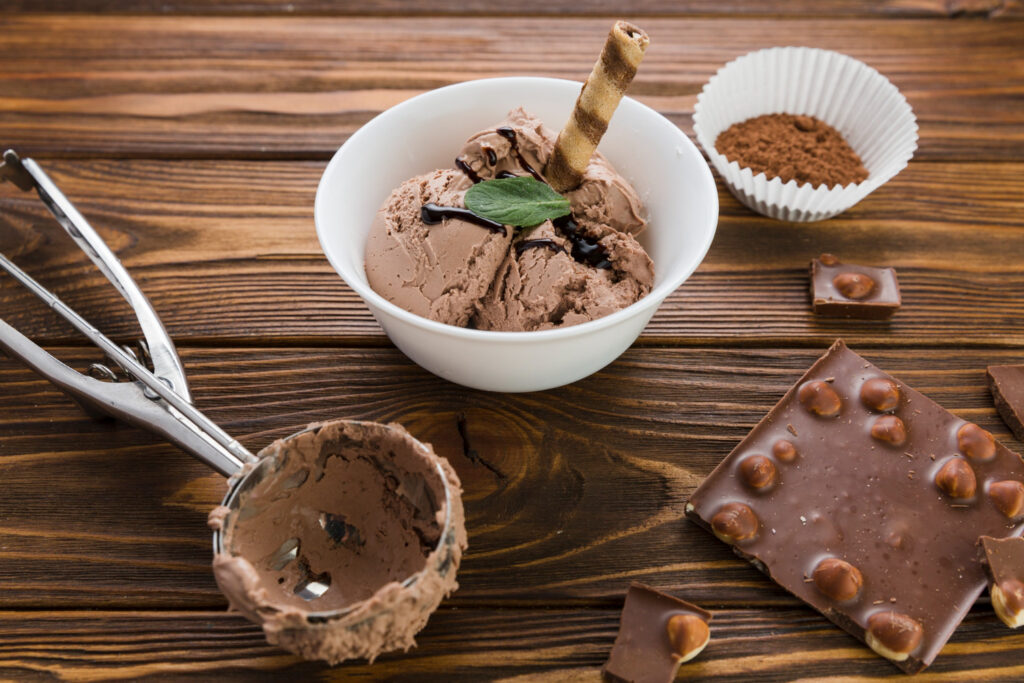
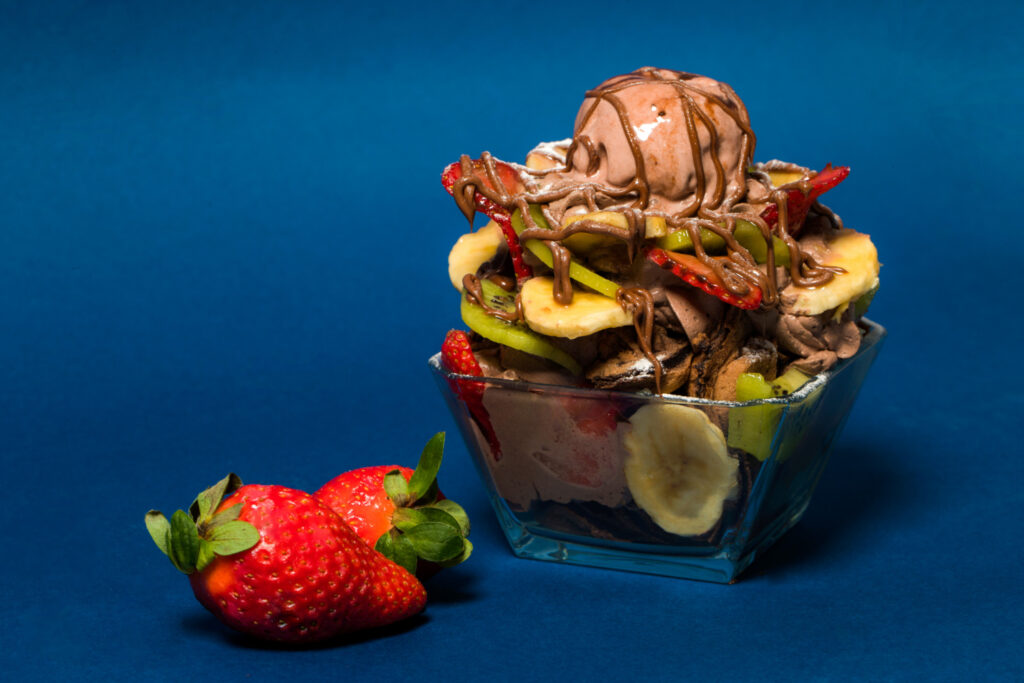
One option is to sprinkle some crushed chili flakes on top of the ice cream for a spicy kick that complements the rich chocolate flavour. You can also add some toasted almonds or pecans for a satisfying crunch.
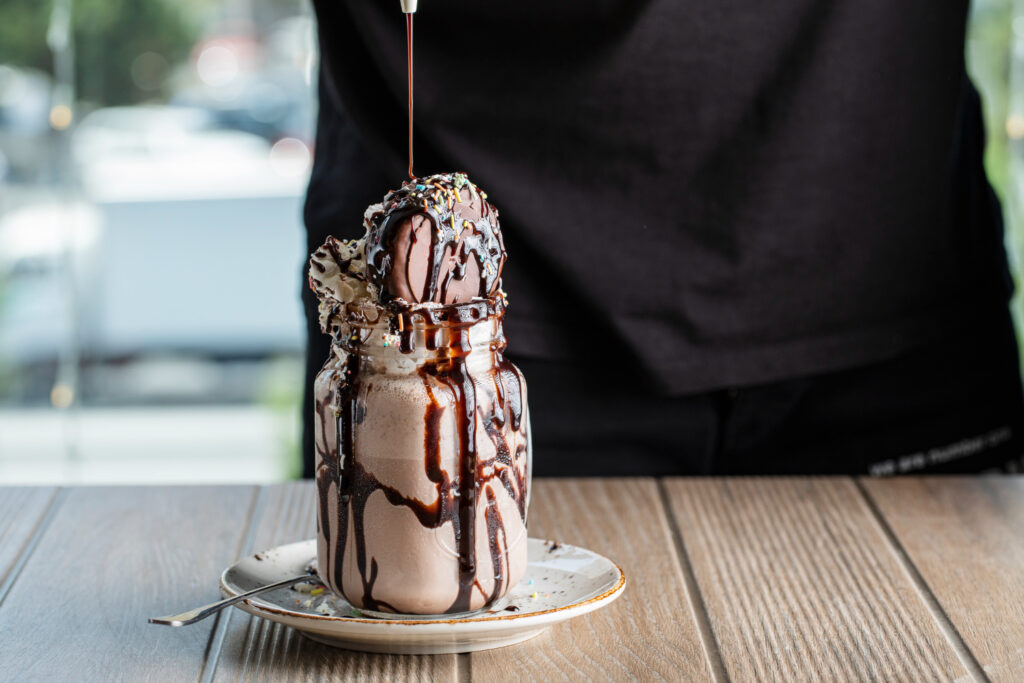
For a fruity twist, try drizzling some caramel sauce and sliced bananas on top. If you want to take your serving game to the next level, consider making homemade waffle cones. The sweet, crispy cones pair perfectly with the creamy ice cream and add an extra layer of texture.
You can even experiment with different variations of the chocolate flavour, like adding espresso powder or cinnamon. Get creative with your presentation by adding a sprinkle of cocoa powder or a dollop of whipped cream.
The possibilities are endless when it comes to serving and enjoying this indulgent treat.
Enjoying Your Homemade No-Churn Mexican Chocolate Ice Cream
Get ready to savor the rich, creamy dessert that you made from scratch and discover new ways to enjoy it with fun toppings and creative serving ideas. After all the hard work you’ve put into making your no-churn Mexican chocolate ice cream, it’s important to know how to store it properly.
First, transfer it to an airtight container and place it in the freezer. This will keep it fresh and prevent ice crystals from forming on the surface. It will also maintain the creamy texture that you worked so hard to achieve.
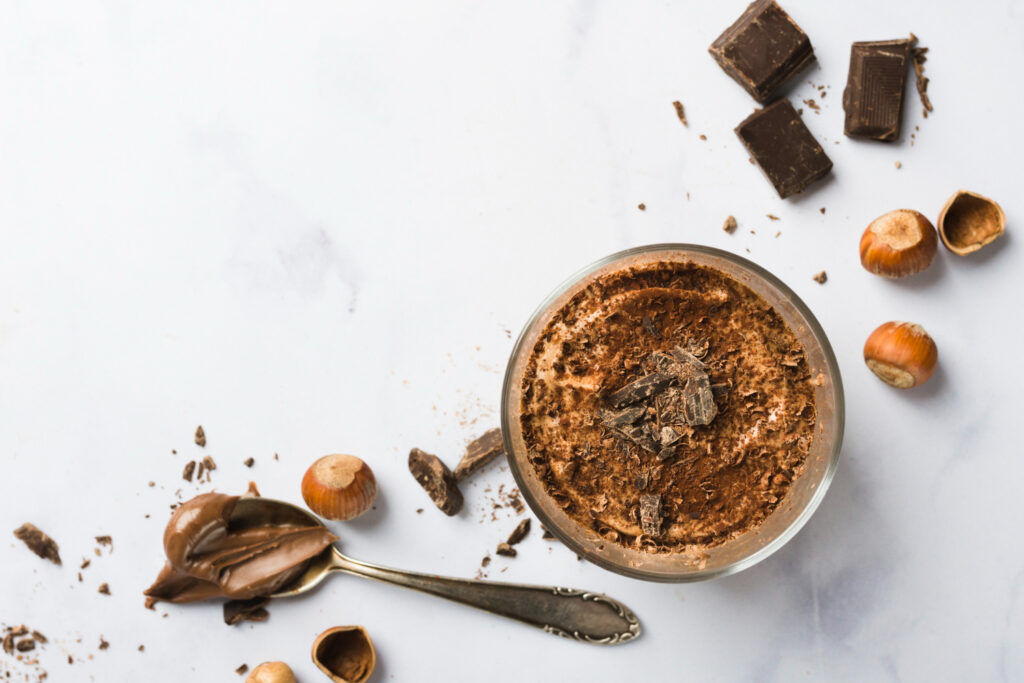
When it comes to enjoying your homemade ice cream, the options are endless. For a fun twist, try adding some unique toppings like sliced bananas, chopped nuts, or a drizzle of caramel sauce. You can also experiment with different flavour variations by incorporating different spices like cinnamon or chili powder.
The key is to have fun and let your creativity run wild. With these tips, you can enjoy your no-churn Mexican chocolate ice cream in new and exciting ways every time.
NO-CHURN MEXICAN CHOCOLATE ICE CREAM
Ingredients
- 2 cups heavy whipping cream
- 1 cup milk
- 1/4 cup cocoa powder
- 4 ounces bitersweet or semi-sweet chocolate
- 1/2 cup sugar
- 2 teaspoons cinnamon
- Pinch salt
- Pinch cayenne
- Pinch espresso powder or instant coffee
- 6 egg yolks lightly beaten
- 1 teaspoon vanilla extract
- 2 tablespoons brandy optional
Instructions
Heat cocoa powder in 1 cup cream, stir in chocolate:
- Heat one cup of cream in a small saucepan (1 qt). Whisk in cocoa powder. Bring to a simmer. Whisk until cocoa powder is well incorporated.
- Remove pot from heat. Stir in chocolate until it is completely incorporated.
Place into bowl, add remaining cream, chill over ice water:
- Put mixture into a metal bowl and add the remaining cup of cream. Set that bowl over a larger bowl half-filled with ice water to help cool it down.
- Place a mesh sieve over the bowl with the chocolate mixture.
Heat milk, sugar, spices until steamy:
- Put one cup of milk, the sugar, cinnamon, salt, cayenne, espresso powder (or instant coffee) into a saucepan and heat until steamy (not boiling), stirring to incorporate the spices and dissolve the sugar.
Temper eggs with hot mixture, return to pan:
- Place egg yolks in a medium sized bowl. Slowly pour the heated milk and mixture into the egg yolks, whisking constantly so that the egg yolks are tempered by the heated milk, but not cooked by it. Use a rubber spatula to scrape the warmed egg yolks back into the saucepan.
Stir until custard base thickens:
- Stir the milk egg mixture constantly over medium heat with a wooden spoon, scraping the bottom as you stir, until the mixture thickens and coats the spoon so that you can run your finger across the coating and have the coating not run. This can take anywhere from 3 to 10 minutes, depending on how hot your burner is.
As soon as the mixture coats the spoon, remove it from the heat and immediately pour it over the mesh sieve into the bowl of the chocolate cream mixture:
- (The sieve is there to catch any curdled bits.) Stir into the cream mixture. If the custard base doesn’t coat the back of the spoon, it’s not ready.
Add vanilla and chill:
- Add a teaspoon of vanilla. Let the mixture cool a bit in the ice bath and then chill in the refrigerator until completely chilled, a couple hours or overnight.
Add brandy (optional):
- Right before churning, add 2 Tbsp of brandy to the mix. This is an optional step, but it will help keep the ice cream from getting too icy if it is stored beyond a day. If you are planning on eating the ice cream the same day you make it, you can skip this step.
Process in ice cream maker:
- Churn the mixture in your ice cream maker according to the manufacturer’s instructions.
Freeze:
- Store ice cream in an airtight container in your freezer for several hours before eating. The ice cream will be quite soft coming out of the ice cream maker, but will continue harden in your freezer.
- If you store it for more than a day, you may need to let it sit for a few minutes to soften before attempting to scoop it.
HELP SECTION
Can I substitute the Mexican chocolate with regular chocolate?
If you’re wondering whether you can substitute Mexican chocolate with regular chocolate, the answer is yes, but with some considerations. Substituting ingredients can affect the flavour, texture, and overall outcome of the recipe.
When it comes to flavour variations, Mexican chocolate has a distinct taste that comes from its blend of spices, such as cinnamon, nutmeg, and chili powder. Regular chocolate, on the other hand, has a milder flavour profile. Therefore, substituting Mexican chocolate with regular chocolate may result in a less spicy and less complex flavor.
However, if you’re not a fan of spicy chocolate or don’t have access to Mexican chocolate, regular chocolate can still work as a substitute. Just keep in mind that the end result may not be the same as the original recipe.
How long does the ice cream need to freeze before it’s ready to eat?
When it comes to freezing ice cream, there are a few things to keep in mind. The freezing time will depend on your freezer’s temperature and the size of your container. Typically, it takes about 4-6 hours for ice cream to freeze properly. However, for best results, it’s recommended that you leave it in the freezer overnight.
Once your ice cream is ready, there are plenty of serving suggestions to choose from. You can enjoy it on its own, with a drizzle of chocolate sauce, or even with some fresh fruit on top. For those who are feeling extra adventurous, you could even try adding some crushed pretzels or peanut butter cups for a sweet and salty twist. The possibilities are endless!
Can I use a hand mixer instead of a stand mixer to whip the cream?
When it comes to whipping cream, you might wonder if you can use a hand mixer instead of a stand mixer. The answer is yes, you can!
A hand mixer is a great alternative to a stand mixer for smaller batches of whipped cream. While it may take a bit longer to achieve the desired consistency, using a hand mixer has its advantages.
For one, it’s more affordable and easier to store. Plus, it allows for greater control and precision when whipping. However, keep in mind that a hand mixer may not be as powerful as a stand mixer and may not be suitable for larger batches.
Overall, it’s up to your personal preference and needs.
Can I add other flavours or mix-ins to the ice cream?
Looking to add some extra pizzazz to your homemade ice cream? The possibilities are endless!
Mix in suggestions range from classic favourites like chocolate chips and nuts, to more unique combinations like lavender and honey or bacon and maple syrup. Experiment with different flavour combinations like vanilla and raspberry, or mint and chocolate for a refreshing twist on traditional ice cream.
The key is to make sure your mix-ins complement the flavour of the ice cream base. Whether you’re a seasoned ice cream maker or a newbie looking to try something new, there’s no better time to get creative with your mix-ins and flavour combinations.
So go ahead, let your imagination run wild and create your own delicious masterpiece!
How long will the ice cream last in the freezer?
When it comes to storing homemade ice cream, knowing its shelf life is essential. You don’t want to end up with a freezer full of expired ice cream, do you?
Generally, homemade ice cream can last in the freezer for up to two weeks. However, some factors, such as the amount of air in the container and the temperature of the freezer, can affect its shelf life. To ensure that your ice cream remains fresh and delicious, it’s important to store it properly.
One tip is to use an airtight container to prevent ice crystals from forming and spoiling the texture. Also, keep the ice cream at a consistent temperature of 0°F or below. With these storage tips, you can enjoy your homemade ice cream for up to two weeks.

WELL DONE!!!!!!!!!!
Congratulations! You’ve successfully made your own no-churn Mexican chocolate ice cream. A sweet and spicy treat that will leave your taste buds tingling with excitement.
As you take your first scoop, you’ll notice the creamy texture and the rich chocolate flavour mixed with hints of cinnamon and chili powder. It’s like a fiesta in your mouth!
This homemade ice cream is perfect for any occasion, whether it’s a hot summer day or a cozy winter night. It’s a dessert that will impress your friends and family, and they won’t believe you made it yourself.
With just a few simple ingredients and some patience, you can create a delicious and unique dessert that everyone will love. So go ahead, indulge in this sweet and spicy delight, and savor every bite.
It’s like a warm hug on a cold winter day, or a refreshing dip in a cool pool on a scorching summer day. Enjoy!


